Garuda Linux is a moving circulation that depends on the Arch Linux working framework, aside from, similar to Arch Linux, Garuda Linux accompanies a graphical installer which is helpful for simple establishment, and furthermore has other progressed graphical apparatuses for dealing with one’s framework. It is a presentation situated Linux distro with numerous exhibition upgrading changes.
Table of Contents
Reuirements:
- 30 GB extra room
- 4 GB RAM
- Virtual Box on the System Installing Virtualbox.
- Garuda Linux ISO File can be downloaded from here.
- Video card with OpenGL 3.3 or better
- 64-bit framework
Highlights:
- It gives programmed previews out of the container utilizing Timeshift.
- Simple Installation.
- Has BTRFS as the default filesystem with zstd pressure.
- GUI for overseeing drivers and portions.
- GUI instrument for different normal assignments.
- Is a quicker, more responsive Linux portion that is advanced for work area, sight and sound, and gaming.
- Offers different GUI instruments for dealing with the framework.
How to Install Garuda Linux on VirtualBox?
Step 1: Open Virtual Box, then press on the new button.
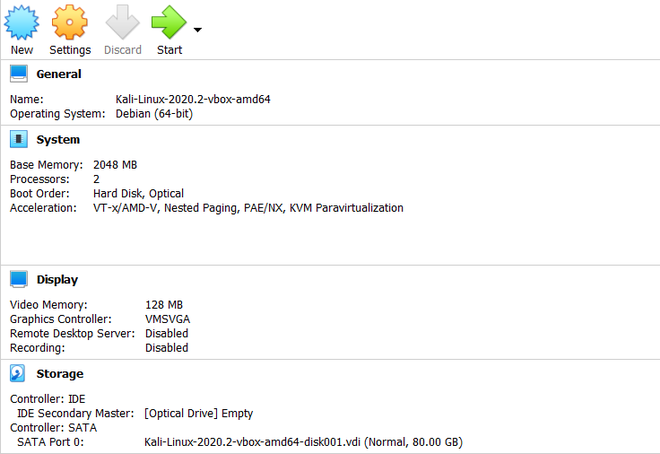
Step 2: Enter the name you prefer for the virtual machine and select type to Debian-based 64bit Linux architecture.

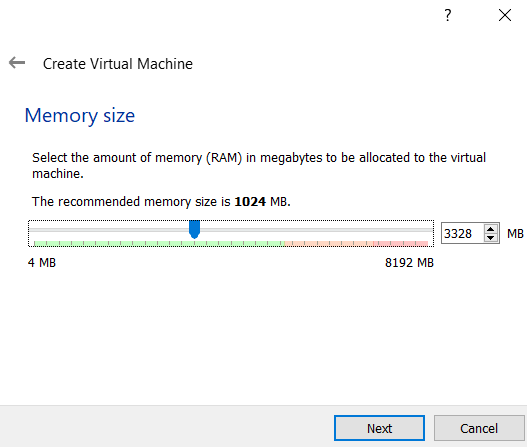
Step 3: Now, we need to allot the size of RAM you want to allocate to the Virtual Machine of Garuda Linux.
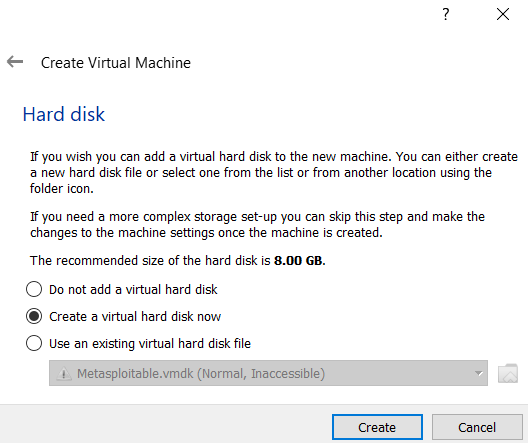
Step 4: Click the option to create a virtual hard disk, then click on the create button.
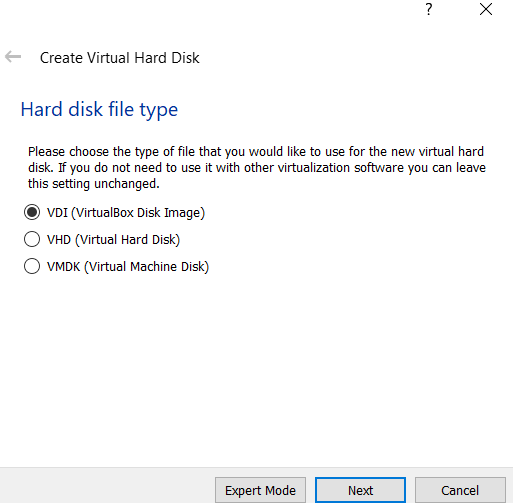
Step 5: Select the Hard Disk File type for Virtual Hard Disk to VDI.
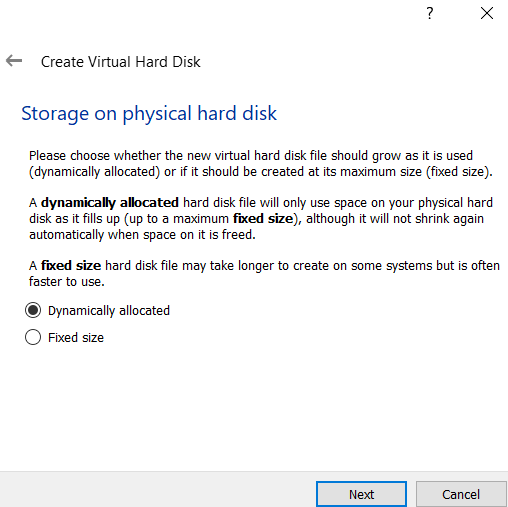
Step 6: Select the type of Physical Hard Disk Storage to dynamically allocated.
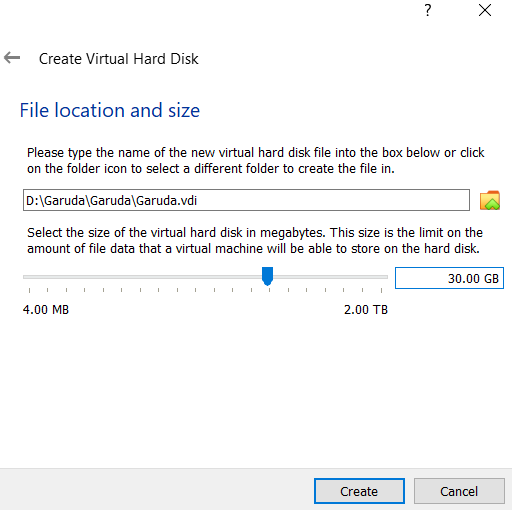
Step 7: Now, select the size of your virtual hard disk and also the location where you want to save your machine and its files.
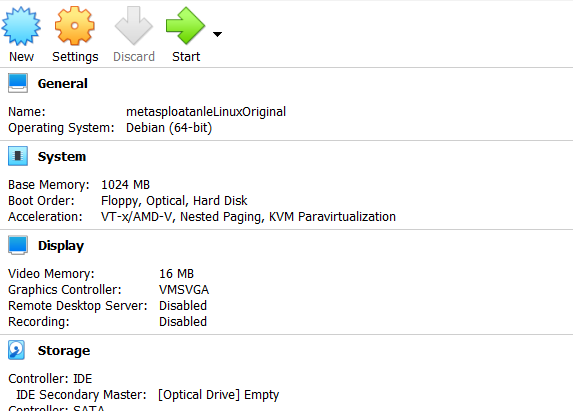
Step 8: Click on the start button.
Step 9: Select the iso file of garuda Linux and click on start.
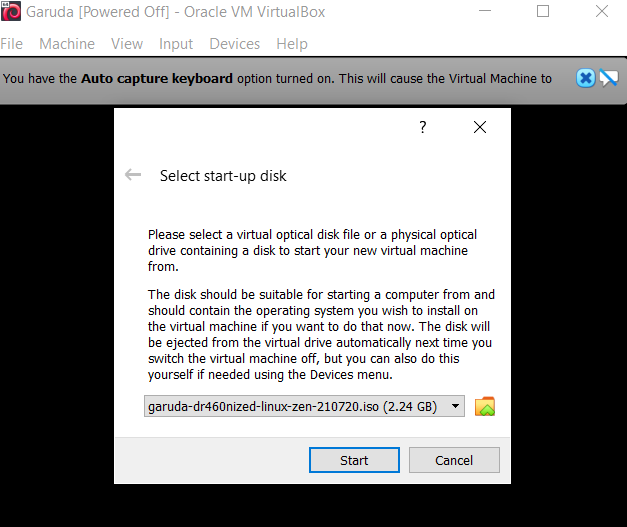
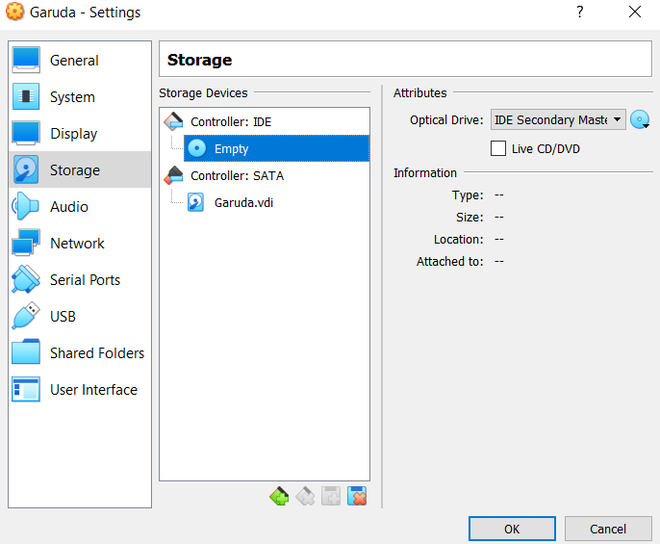
or, right-click on garuda Linux and select settings. In settings, go to storage and select the iso file in the optical drive.
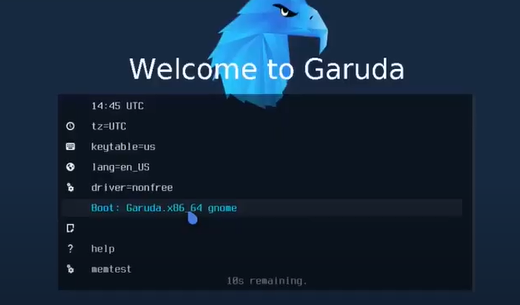
Step 10: Click on the default selected option, i.e. Boot: garuda .x64 gnome, and hit enter.
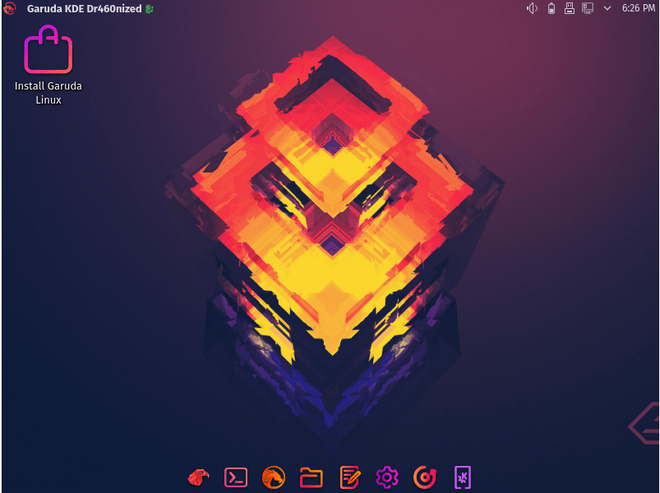
Step 11: Double click on the install garuda Linux icon on the desktop.
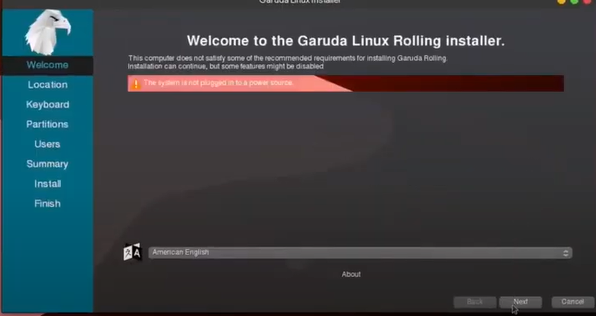
Step 12: Next select a language, select your respective one.
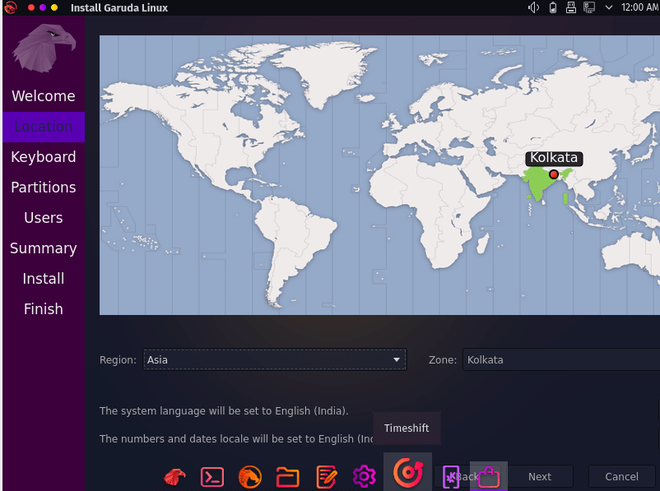
Step 13: Select your location and hit continue.
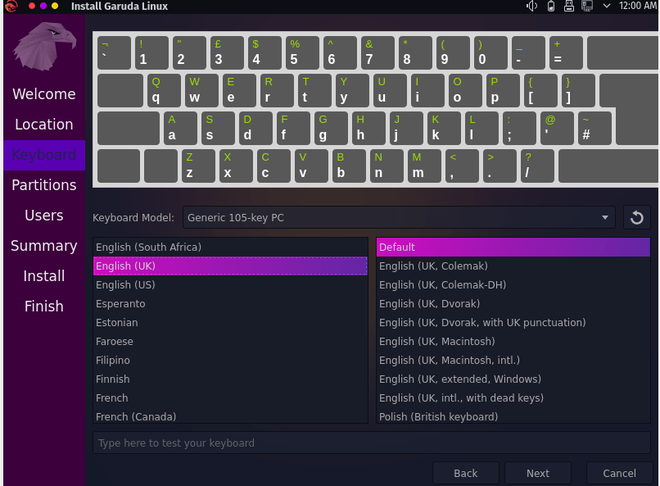
Step 14: Select your keyboard layout and hit continue.
Step 15: Select the first option under partitions which is to erase the disk.

Step 16: Type your name and computer’s name. Pick a username you want and enter a strong password which will be required whenever you or anybody else tries to access garudaLinux. Then click on continue.

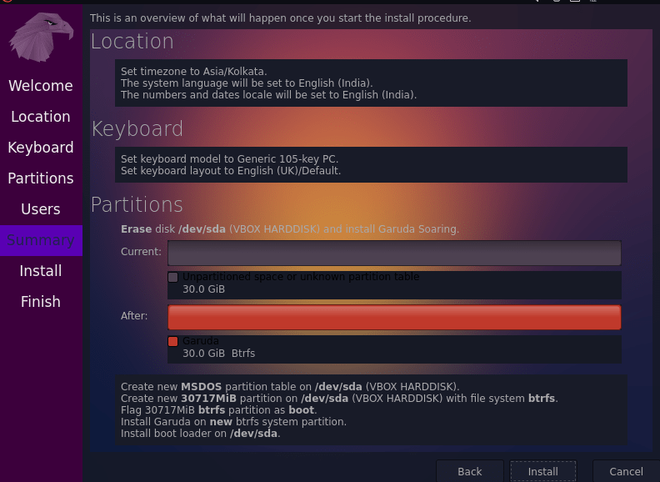
Step 17: Then on the next screen, you will be shown the summary of the options you have chosen. Click on install.
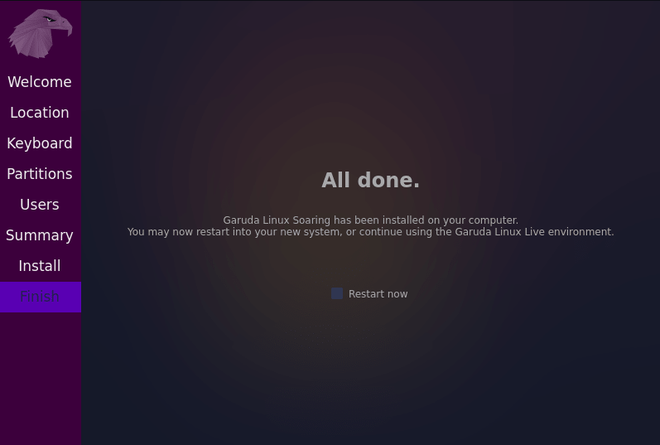
Step 18: You are just one click away to get your hands on GARUDA. Now, wait for few minutes for garudaLinux to get installed on your system. After installation, click on the restart to restart your garuda Linux.
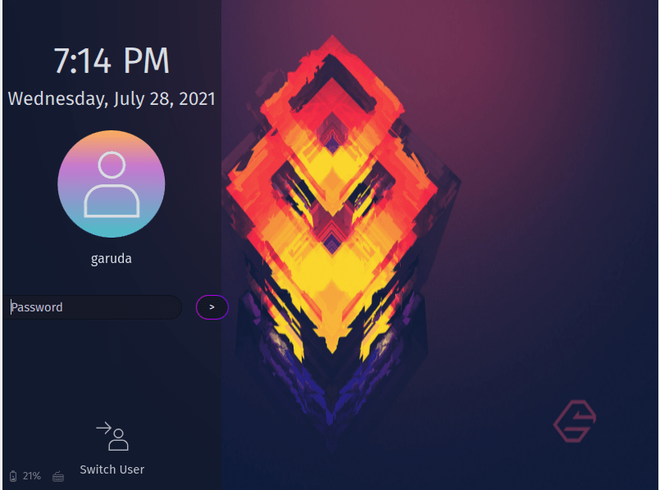
Now go ahead enter your password and explore what garudaLinux has to offer.
You can access Konsole from the icons on the bottom.
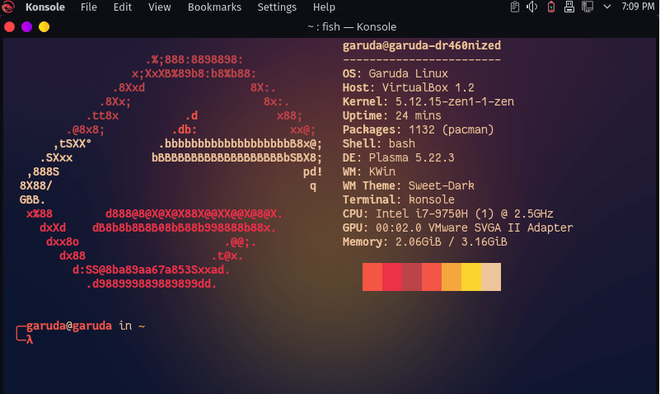
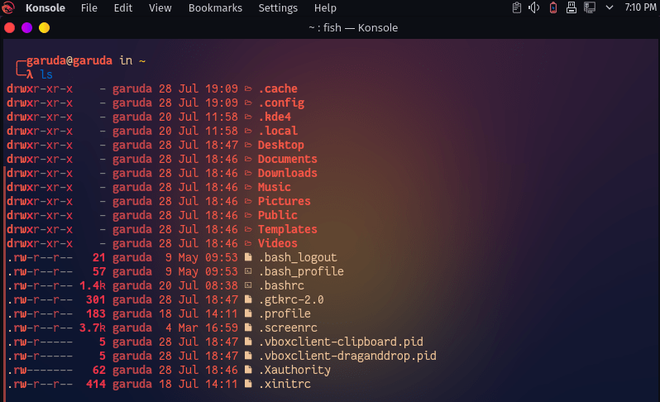
Its konsole is like any other Linux distro terminal.
You can also change the wallpaper easily, right-click and select configure desktop and wallpaper.
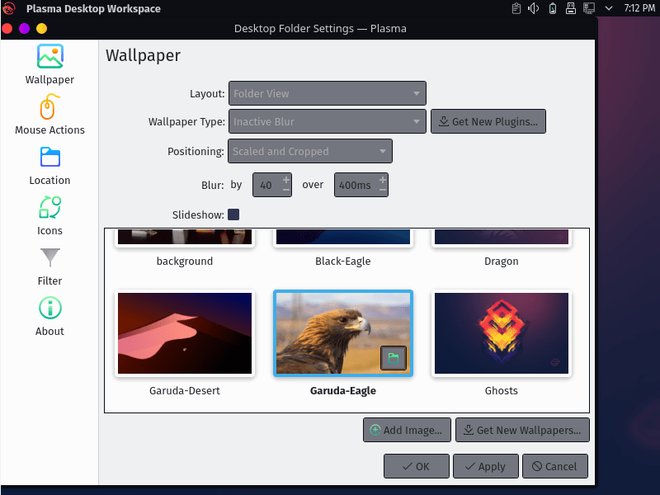
Select garuda desert wallpaper or any other you want and simply click on apply.
