To settle the “npm ERR! code ELIFECYCLE ” mistake which is an exceptionally normal kind of blunder that happens during npm procedure on our order brief or terminal, for example, introducing npm or a npm bundle, follow the means given beneath :
Terminal result of the mistake:

Follow beneath steps to fix the mistake:
Stage 1: In our initial step we will have a go at cleaning the reserve of the npm which is introduced in the undertaking registry .npm stores store information in an obscure index inside the designed reserve, named _cacache.
The npm stores the reserve information in a secret index inside the arranged store, and the name of that reserve is _cacache. The “_cacache” represents a Content addressable reserve that stores all the HTTP demand information just as other bundle related information.
$ npm store clean - power
Stage 2 (Delete node_modules): In our second step we will erase the node_modules envelope which will be organized as such in your venture registry.
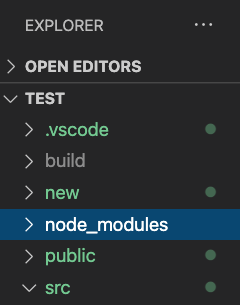
Simply float your cursor to the node_modules envelope and right snap on it and pick “erase” from the choice showed. This activity ought to erase your node_modules organizer from the task structure.
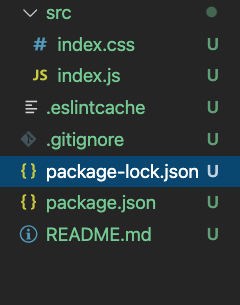
Stage 3 (Delete bundle lock.json ): Similar to the second step we will presently erase the “bundle lock.json” document from the venture registry also. But this “bundle lock.json” may show up again in the undertaking catalog as we will perform “$ npm introduce ” again in the following stage.
Stage 4: In this progression, we should again introduce npm into our undertaking registry as we have erased the node_modules envelope in the second step which eliminates npm that was introduced in the task. Hence, to introduce the npm again in the task catalog utilize the accompanying order.
$ npm introduce
This will settle the struggles/mistakes. Compassionately ensure that npm is introduced appropriately, and you have your node_modules organizer again at a similar area.
Also Read: How to Install Garuda Linux on VirtualBox?