How to add a printer to mac?
How to add a printer to mac? In order to add a printer to mac you have to follow these steps:
1.First step is to turn on both machines
2.Now you have to check whether the printer is wireless or not. If it is wireless then you have to check if it supports air print or not.(Wi-Fi is also necessary)
If it is not wireless then you have to use a USB cable that connects the mac with printer
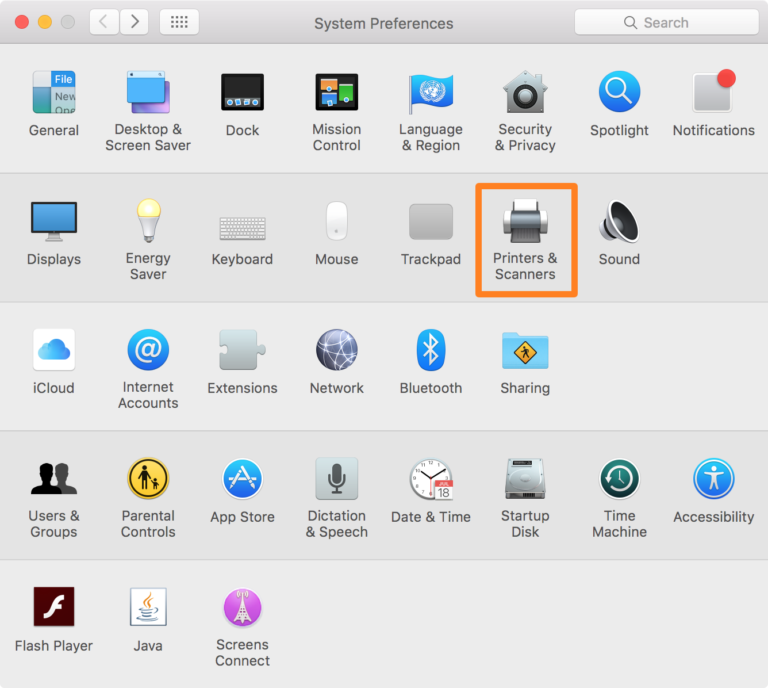
3.Go to apple menu and select System preferences
4.Select printers and scanners
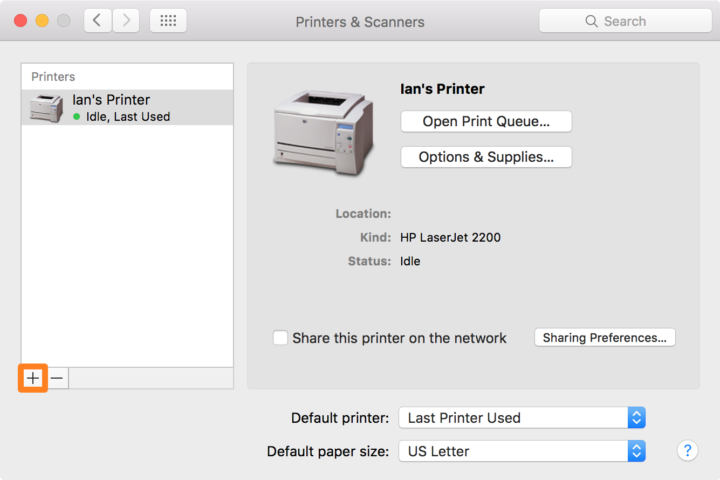
.Go to the + button in the side bar to add a new printer on your mac, as shown in figure
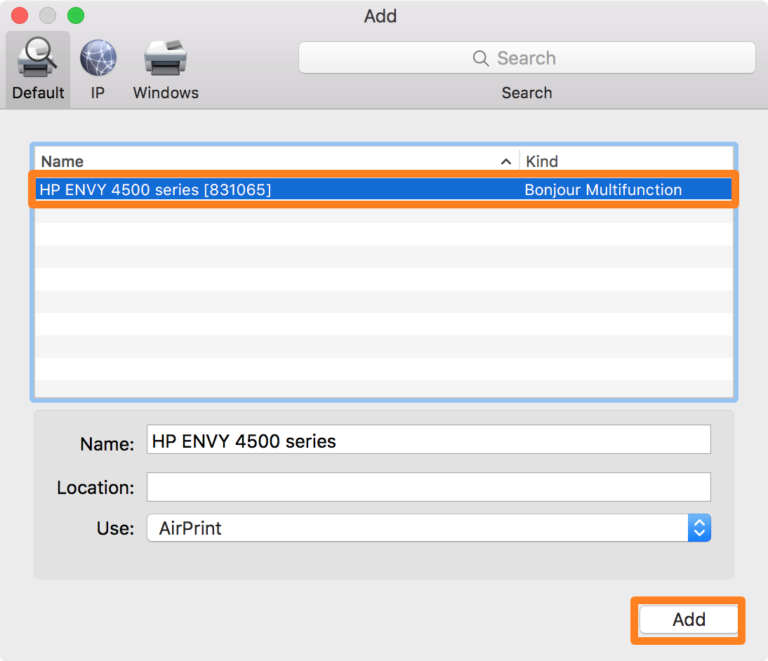
6.Now a new window will be opened and list of printers will appear, select the printer and click on add button
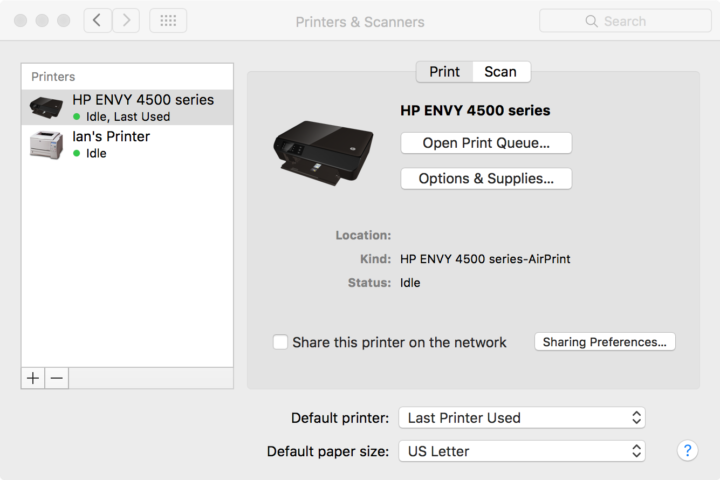
7.Now your mac will either ask you to install drivers for printers through Wi-Fi. You have to just skip on screen instructions to complete installation. After these steps you will be able to see printer added in your list, now you will be able to print.
Also read here
https://eevibes.com/why-should-you-build-3d-printer/