Creating First Project in C on MPLAB
In this article I have explained the necessary steps required for creating first Project on MPLAB software. Usually when you install the MPLAB software, you can run the assembly language program on it easily but for simulating a program in C language, you need to install separate MPLABC software that I have attached below.
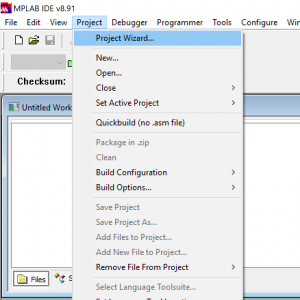
Once you unzip and install it, you can start the MPLAB software and then follow the following steps.
- Go to the project tab and click on Project Wizard
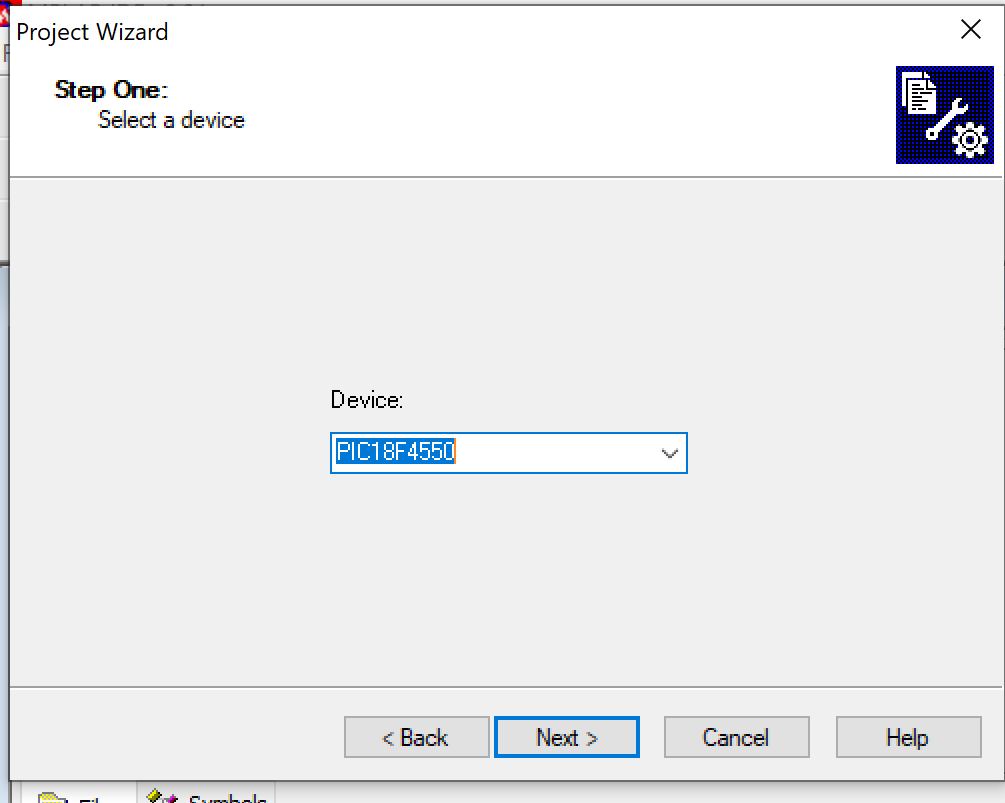
2. Click on Next and select the device you want to program. Lets say write now we plan to use PIC18F4550 microcontroller.
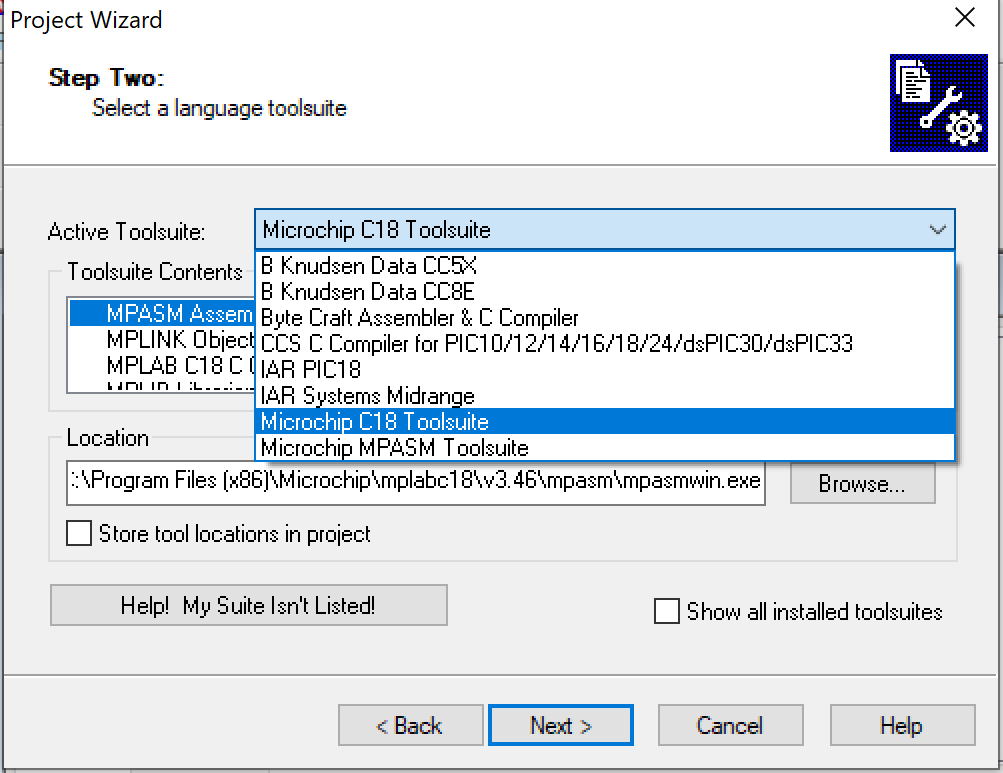
3. Click on Next again and then you will see the following window
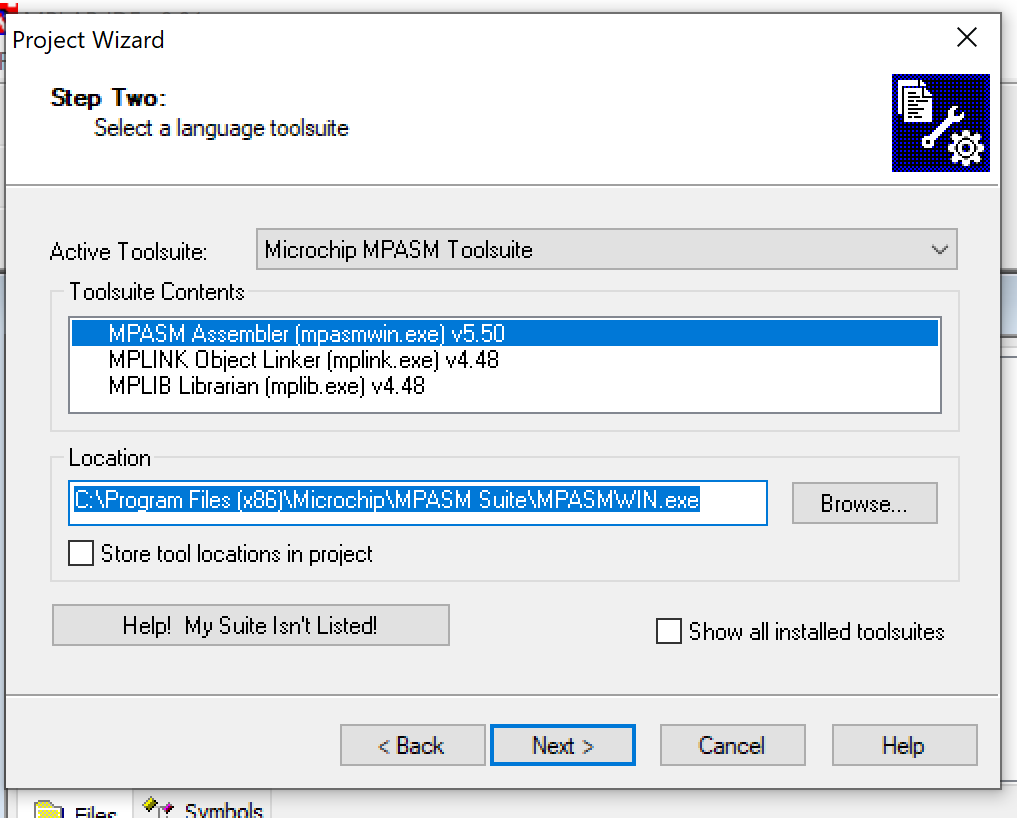
4. Drop down the active Toolsuite and select “Microchip C18
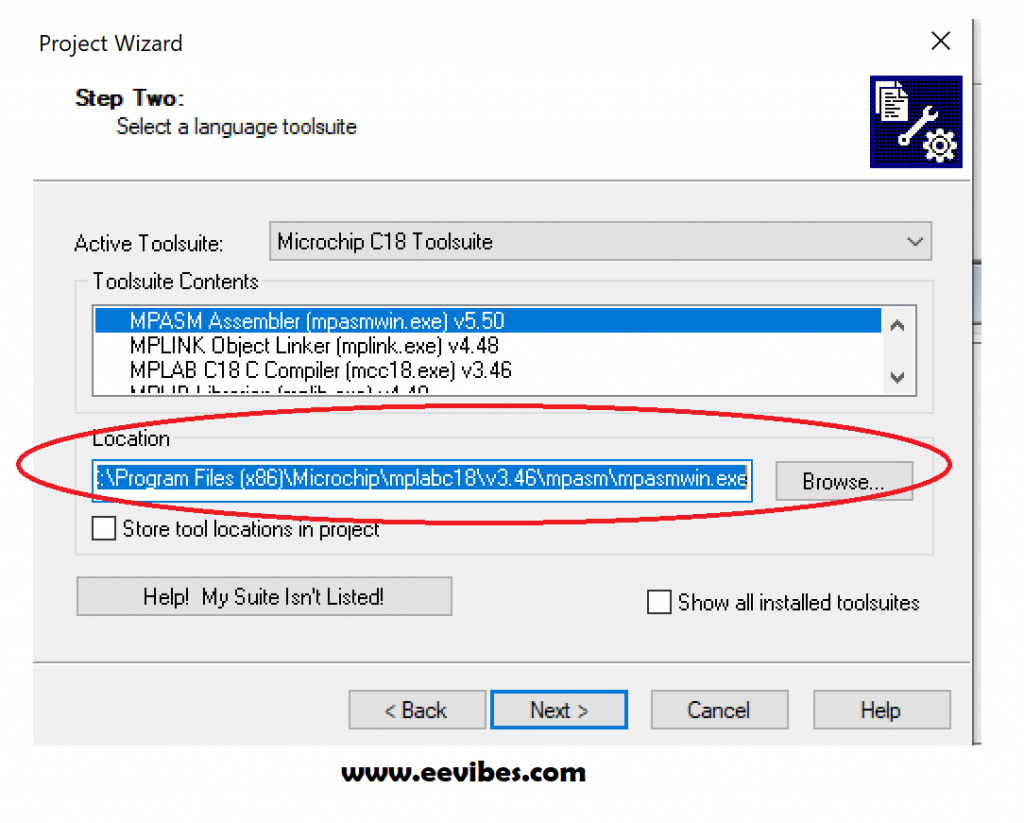
5. Make sure of selecting the proper location as shown below
6. Click on “next” and then provide the path of directory where you want to store the project. The purpose of this step is to make sure that you can locate the .hex file easily. For this, create a new folder in some drive (D or E).
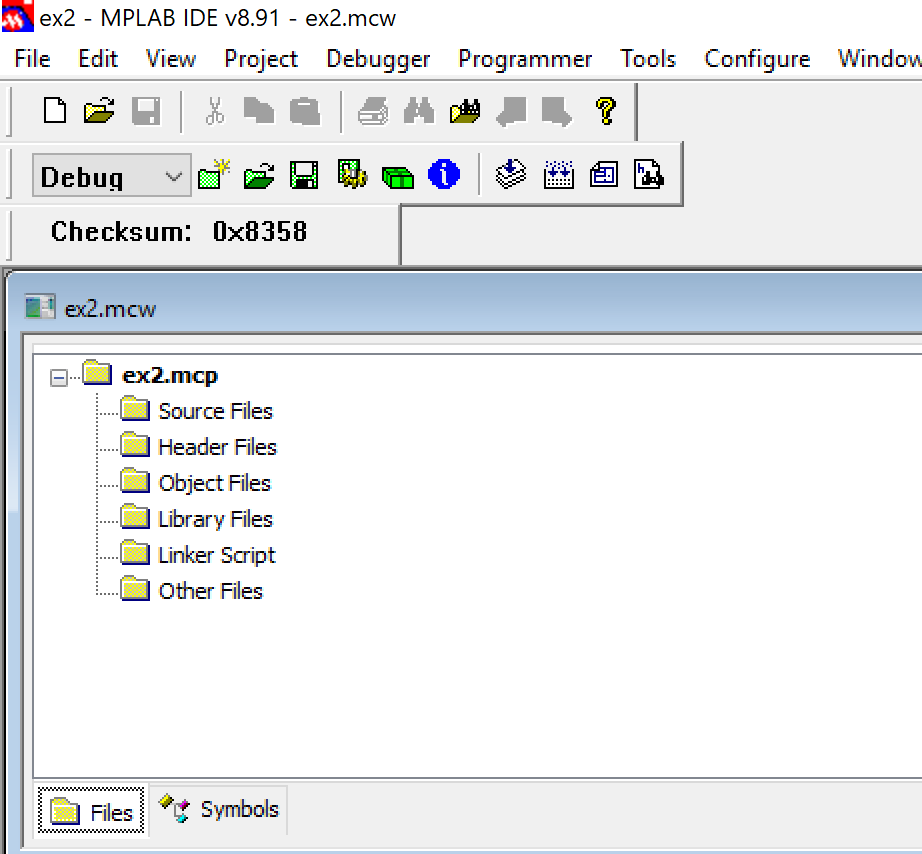
7. After this, just name the project like I have used ex2. Then click on Next Next and then finish. Here you will not add any linker file. As it will be done later on. Now you can see your project window.
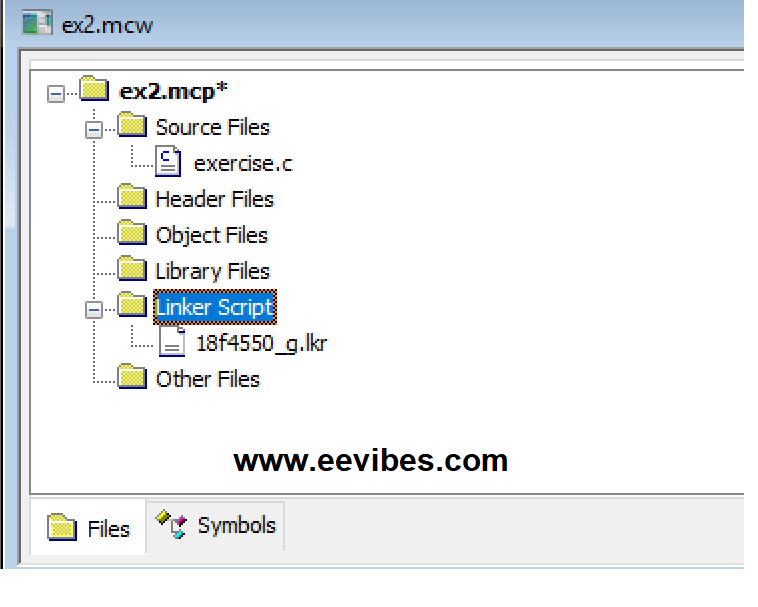
8. Now select new file from top left corner for writing the code and then save it with extension .c. This is the source file that you will add in source file folder by right clicking on that folder in the project window.
9. After adding the source file the next step is to add linker file (.lkr). You can find it using path
C drive—->program file(x86)—->Microchp—–>MPASM Suite—->LKR—–> type her the controller number like 18F4550.
10. This is very important step because if you try to build the project without this step you will have errors. In order to avoid this first add the necessary file.
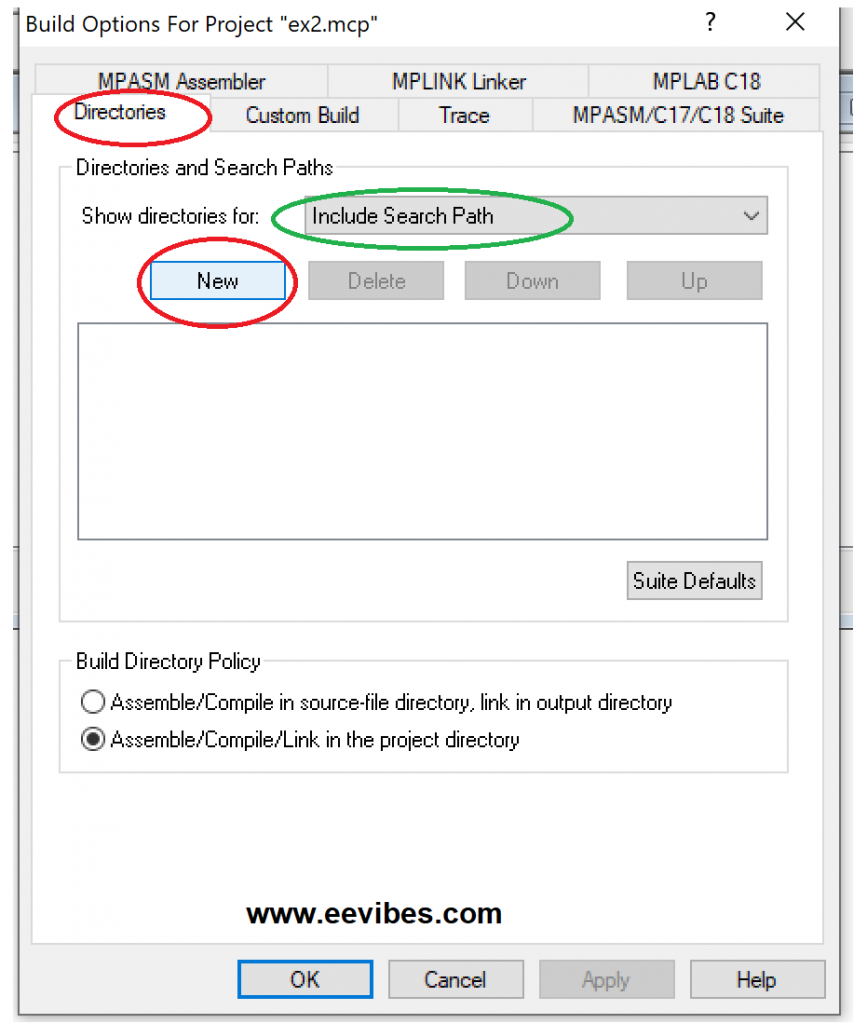
Go to the project tab on top and select build option and then click on “project”.

The following window will be opened. Click on directories—->select “include search path from “show directories for” and then click on New.
then click on three dots
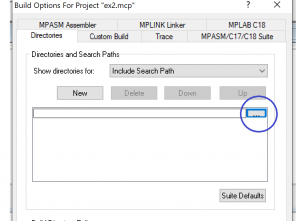
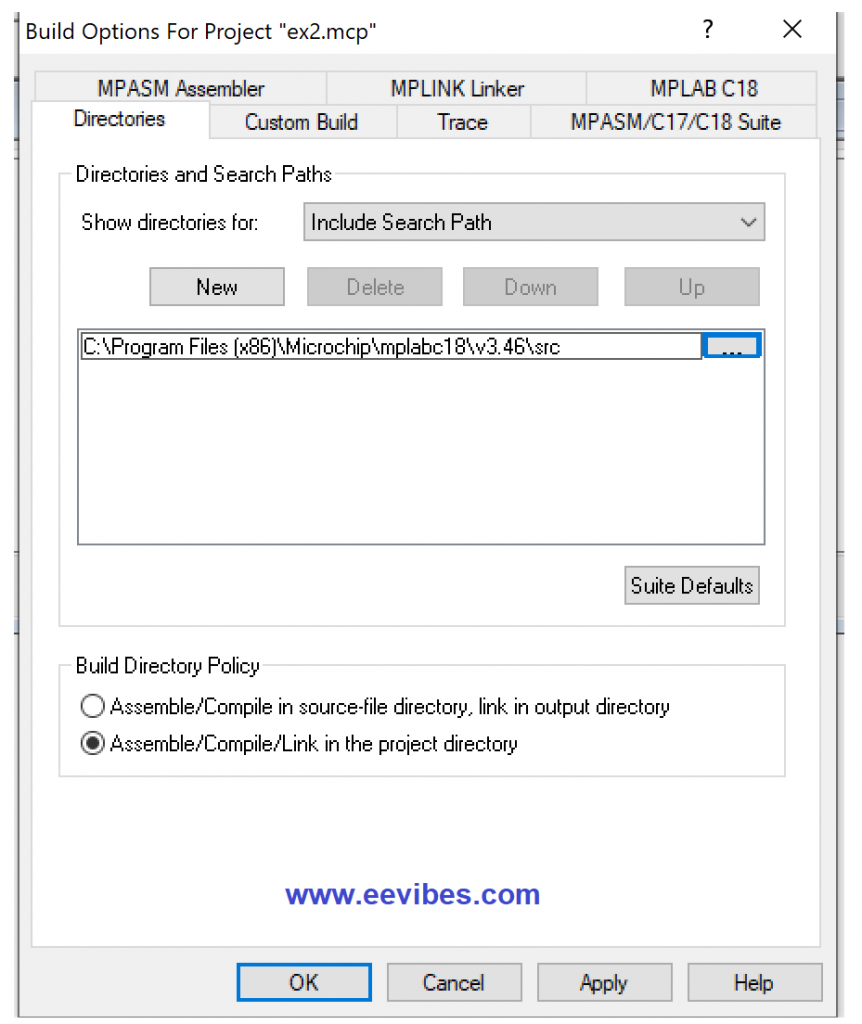
Then provide the path
C drive—->program file(x86)—->Microchp—–>mplabc18
From here you will add 4 folders path
- h
- scr
- mpasm
- lib
press enter after adding a complete path of a file. In this way all directories can be added as shown below.
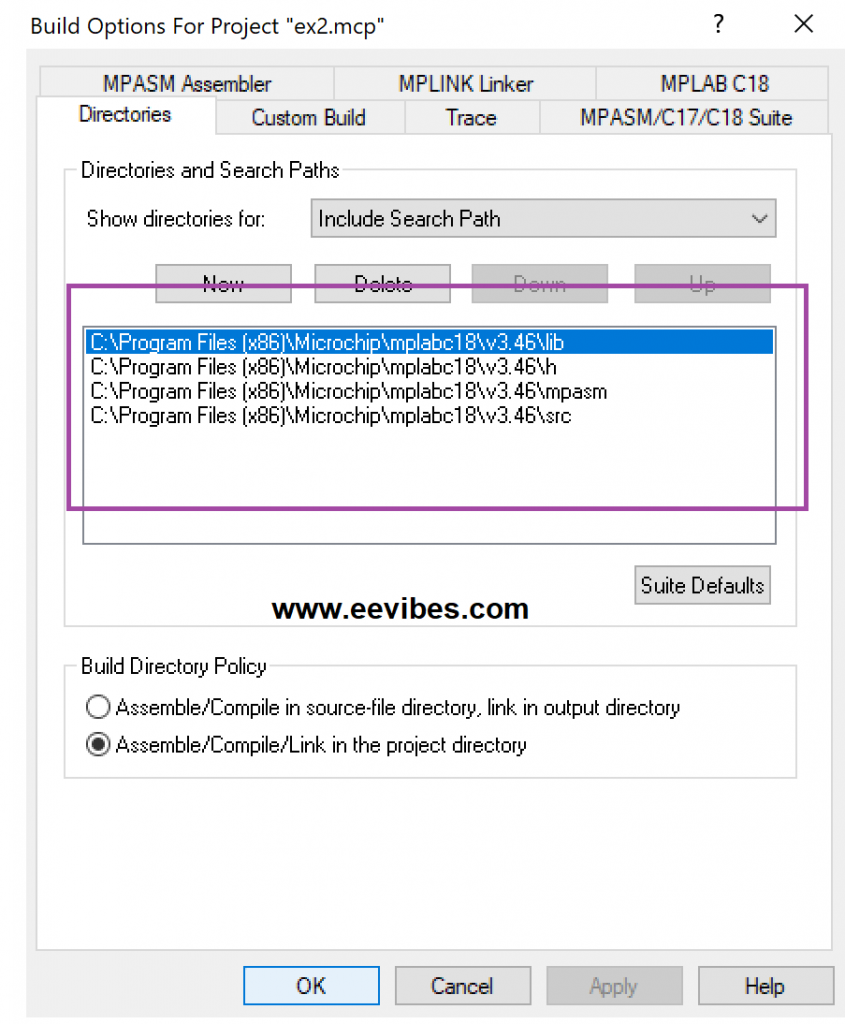
Now you can build the project there will be no error.
For complete tutorial watch here
https://www.youtube.com/watch?v=F6t5ATBKKK4&t=3s