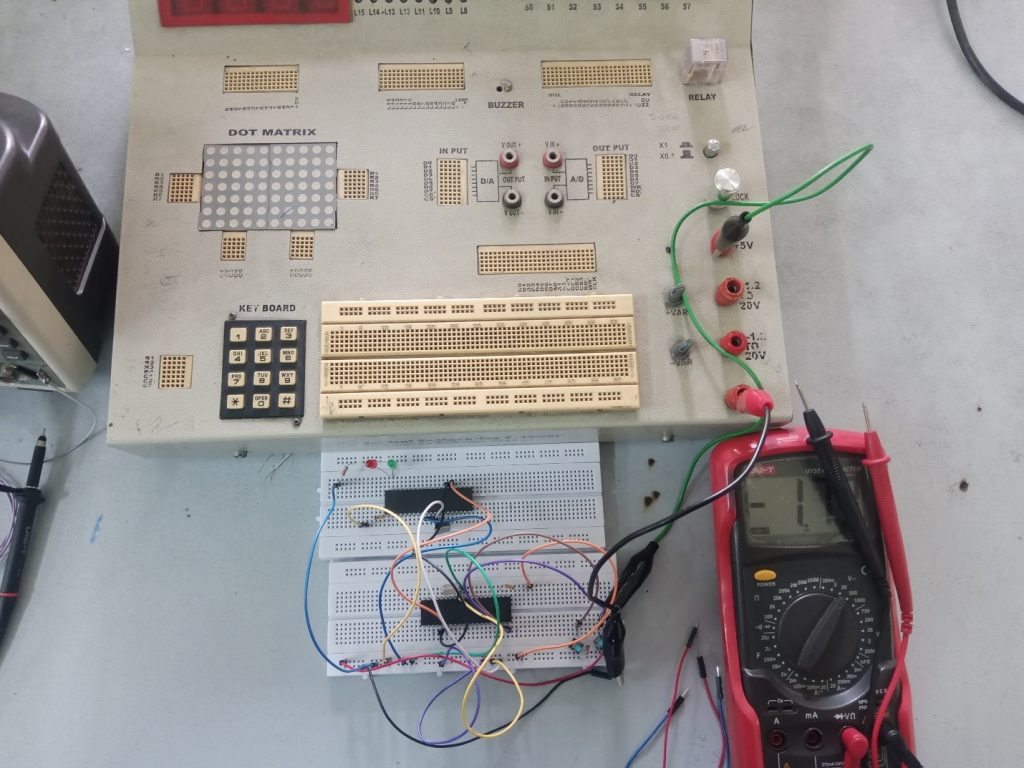
Serial communication project using PIC microcontroller. The Universal Synchronous Asynchronous Receiver Transmitter (USART) module is one of the two serial I/O modules.
USART is also known as a Serial Communication Interface or SCI. The USART can be configured as a full-duplex asynchronous system that can be configured as a half-duplex synchronous system that can communicate with peripheral devices such as CRT terminals and personal computers, or it can be configured as a half-duplex synchronous system that can communicate with a peripheral device such as A/D or D/A integrated circuits, serial EEPROMs, etc.
The USART can be configured in the following modes:
- Asynchronous (Full duplex)
- Synchronous – Master (Half duplex)
- Synchronous – Slave (Half duplex)
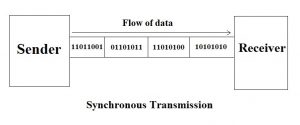
Synchronous Transmission:
In Synchronous Transmission, data is sent in form of blocks or frames. This transmission is the full duplex type. Between sender and receiver, synchronization is compulsory. In Synchronous transmission, there is no gap present between data. It is more efficient and more reliable than asynchronous transmission to transfer a large amount of data.
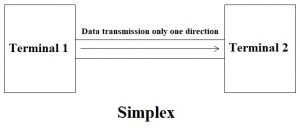
Simplex:
In Simplex Transmission, data is transmitted only in one direction. Data will be transmitted from Terminal 1 to terminal 2 or Terminal 2 to Terminal 1.
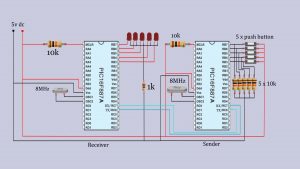
Circuit schematic:
This is our circuit schematic. It has two parts one for transmitting data and the other for receiving data. We are connected 5 LEDs with the Receiver and 5 push Button with Sender. If we press any button the specific LED will be activated.
Receiver Code:
unsigned char uart_rd;
void main() {
UART1_Init(9600);
Delay_ms(100);
TRISB = 0X00;
PORTB = 0X00;
uart_rd = 0;
while(1){
if(UART1_Data_Ready()){
uart_rd = UART1_Read();
PORTB = uart_rd; // received show PORTB
}
}
}
Receiver Code Explain:
Here’s the Sender code. We have written the code in Mikro C pro for the PIC compiler. Here’s we are included UART library.
In the define section we have defined an unsigned character variable which mane is uart_the rd.
In the main section, we have defined the UART module at 9600 Kilobits per second (Kbps). We have to need a 100 ms (millisecond) delay that stabilizes the UART module. Here we have set the PORTB as an output port by clearing the TRISB register. Now, we have to clear the PORTB register value. Here, we have set the value of uart_rd veritable as 0.
In the main loop, we have created an if statement which checks the received data. Here’s the UART1_Data_Ready( ) function to test if data in the receive buffer is ready for reading. The UART1_Data_Ready( ) function returns 1 if data is ready for reading and otherwise 0 if there is no data in the received register. Using the UART1_Read() function you have to read the received data and put that value into the variable “uard_rd”. We have to write the uard_rd variable value in PORTB.
Sender Code:
unsigned char uart_wr;
void main() {
UART1_Init(9600);
Delay_ms(100);
TRISB = 0XFF;
PORTB = 0X00;
uart_wr = 0;
while(1){
uart_wr = PORTB ; // Read the PORTB data
UART1_Write(uart_wr);
}
}
Sender Code Explain:
This is our simple sender code. In, this code we have included the UART library. In the define section, we have defined an unsigned character variable whose name is uart_wr.
In the main section, we have defined the UART module at 9600 Kilobits per second (Kbps). We have to need a 100 ms (millisecond) delay that stabilizes the UART module. Here we have set the PORTB as an input port by setting the TRISB register. Now, we have to clear the PORTB register value. Here, we have set the value of uart_wr veritable as 0.
In the main loop section, we have to write the PORTB value in the uart_wr variable. We will transmit the uart_wr variable value using the UART1_Write ( ) function.
Circuit:
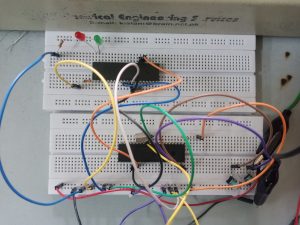
Serial communication using PIC microcontroller
https://www.youtube.com/watch?v=cJeB7OJykss
-
Design of smart electronic voting machine using Arduino
-
How to Display on 8×8 Dot Matrix LED Using Arduino(UNO)?
-
How to Design RGB Mood Lamp using Arduino?
-
Serial Temperature Sensor Project using Arduino
-
How to design an LED Flasher on Arduino Board
-
Design of Traffic Light Control system using Arduino
-
Arduino Project: How to control the speed of DC motor?
-
Arduino Project: Send Command with Serial Communication
-
Arduino Project: LED Fire Effect
-
How to control the speed and direction of DC motor using Arduino?